Overview
Dam pages will typically be added to the site as children of the Dams page. A single page with the page type Dam is created for each Watercare dam, while a collection of all the dams are displayed on the Dams landing page.
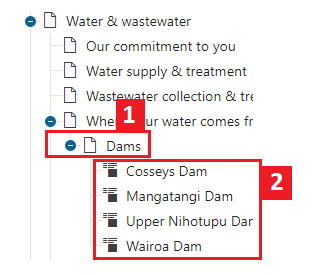
- Dams landing page.
- Individual dam pages.
Note: The Dams landing page is a Content Page and uses a Repeater (dams) widget to show a 'roll-up' of all the dams.
Dams are made by creating new
Dam type pages. When a page is created with the Dam type, the Dam template is automatically applied. The dam template adds the Dam name, address (location) and text content to the page in a set layout which cannot be changed. This content is added through the
Form tab in the
Pages application.
The Form tab also allows for a teaser text and teaser image to be attached to the page. They are not displayed on the main dam page but used in Repeater (dams) rollups such as on the
Dams landing page.
Dam page and template
The dam template takes the dam name, address and main text from the page properties and displays them on the page. It also includes a widget zone to allow extra content to be added after the main text.
- Dam Name
- Dam Address
- Link to dam's location on map
- Dam Text
- Additional content zone (can add widgets to this zone)
- Dam level graph
- A repeater rollup of all other dams
Add new dam page
Refer to the following video to add and configure a new dam page.
Configure dam page
- In the Kentico admin portal open the Pages application
- Navigate to Water and wastewater services > Where your water comes from > Dams > [Dam]
- With the subject dam highlighted in the content tree, open the Form tab
- Change the contents of Dam Name, Dam Teaser, Dam Teaser Image, Dam Address and Dam Text as desired.
- Save changes.